So this is the first dessert recipe that I’m sharing on the blog, and there’s good reason for that. I seldom make desserts at home. I love cooking savoury dishes and feel quite confident trying new things, but sweet is an entirely different ballgame!
Desserts can be quite temperamental… cakes don’t always rise, puddings and pannacottas don’t set, ice-creams don’t freeze.
I prefer leaving the desserts to professional pastry chefs, and luckily there are plenty of great bakeries and home pastry chefs in Calcutta to choose from. It’s too much of a risk to try a new dessert recipe when you are going to have people over (to save yourself from a last minute dash to the nearest pastry shop), and I’d rather just eat a serving of ice-cream from the store than bother with baking if it’s any regular day.
When I learnt this recipe for molten chocolate cake in Rome, I was tempted to try it at home. It’s one of those desserts that I always thought will be difficult to master, but the only five ingredients requirement sold me – it couldn’t possibly be that hard if it had so few ingredients, right?
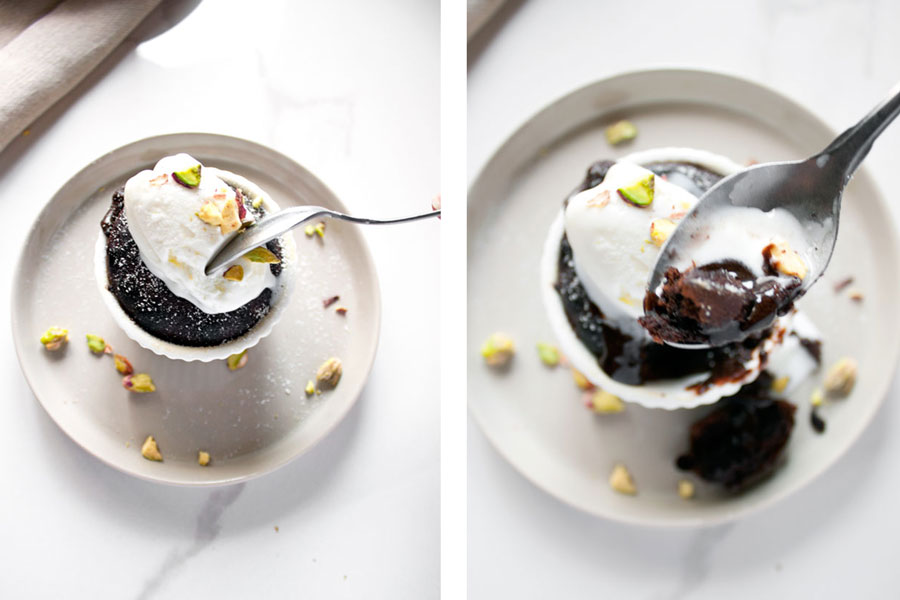
This is a dessert we’ve all grown up eating. It used to be on the menu in Italian restaurants where you had to order it twenty minutes in advance. I used to wait impatiently for it to arrive, and love to break into it and watch the chocolate lava ooze out. It was always decadent!
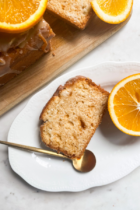
This recipe is so easy, I didn’t trust that it would turn out as well as it did! 5 ingredients, 20 minutes and pretty much fuss-free. I added some orange zest in the centre before baking, for a bit of a zingy freshness… orange and chocolate is a favourite combination for me. Totally optional if you want to keep it classic.
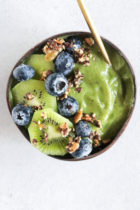
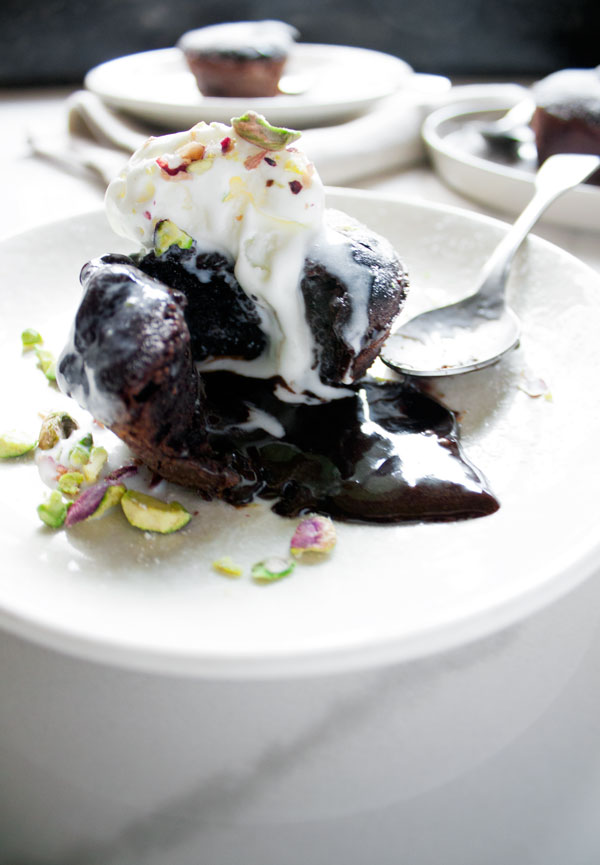
Serve it in the ramekins itself if you can’t be bothered with demolding, but ice-cream is definitely recommended. Add some fresh berries if they’re in season, or a sprinkle of roughly chopped nuts like walnuts, pistachios or hazelnuts if you have no fresh fruit on hand.
- 500g dark chocolate
- 75g unsalted butter
- 8 eggs
- 125g sugar
- 100g all-purpose flour
- Preheat the oven to 200°C.
- In a double boiler. melt the chocolate and butter together, stirring until it melts completely into a smooth consistency. Remove from the heat and let it cool down to room temperature.
- Meanwhile, crack the eggs in a large mixing bowl. Add in the sugar, and whisk using an electric whisk until creamy. The sugar should dissolve completely.
- Transfer the cooled down chocolate mixture to the eggs and mix to incorporate.
- Add in the flour and whisk until fully combined and no lumps are remaining.
- Lightly grease your ramekins or muffin tray with butter and dust with flour, tapping out the excess flour.
- Pour your chocolate mixture into the greased cups until ¾th full.
- Bake at 200°C for about 6-8 minutes.
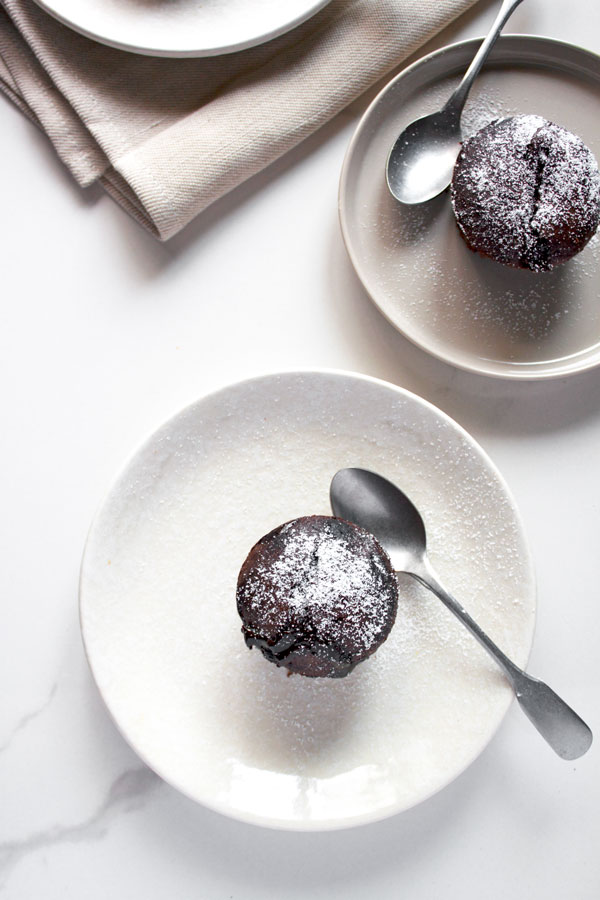
- Remove from the oven and let them cool down slightly before handling. Optional: Run the edge of a butter knife along the rim to free the cake, and overturn on a plate to demold.
- Dust with powdered sugar and serve immediately with a scoop of ice-cream (highly recommended!)
2. Demolding the cakes requires a little bit of practice. Don’t worry if you don’t get it in the first go! You can skip this step altogether and serve them in the ramekins itself - tastes just as great and will be gooey and molten inside.
3. This batter keeps well in the fridge in an airtight container for upto a week. Just adjust the baking time accordingly, or let it come down to room temperature before baking.
Recipe adapted from Chef Alessandri of Chef in a Day.
Did you make this recipe?
Leave a comment, or tag @sprigandvine.in on your photos on Instagram and Facebook, and hashtag it #goodfoodpractices