Some mornings you wake up and your face looks flawless, and some it just looks so… meh. Usually, a few splashes of cold water and a quick facial massage with moisturiser gets the circulation going. But if you’re looking for the one thing that can help you overcome late night Netflix eye bags, reduce and soothe hangover puffiness, and dial up the radiance on your skin and in just a few short minutes, there’s a skincare tool you need: the gua sha.
So, what is a gua sha?
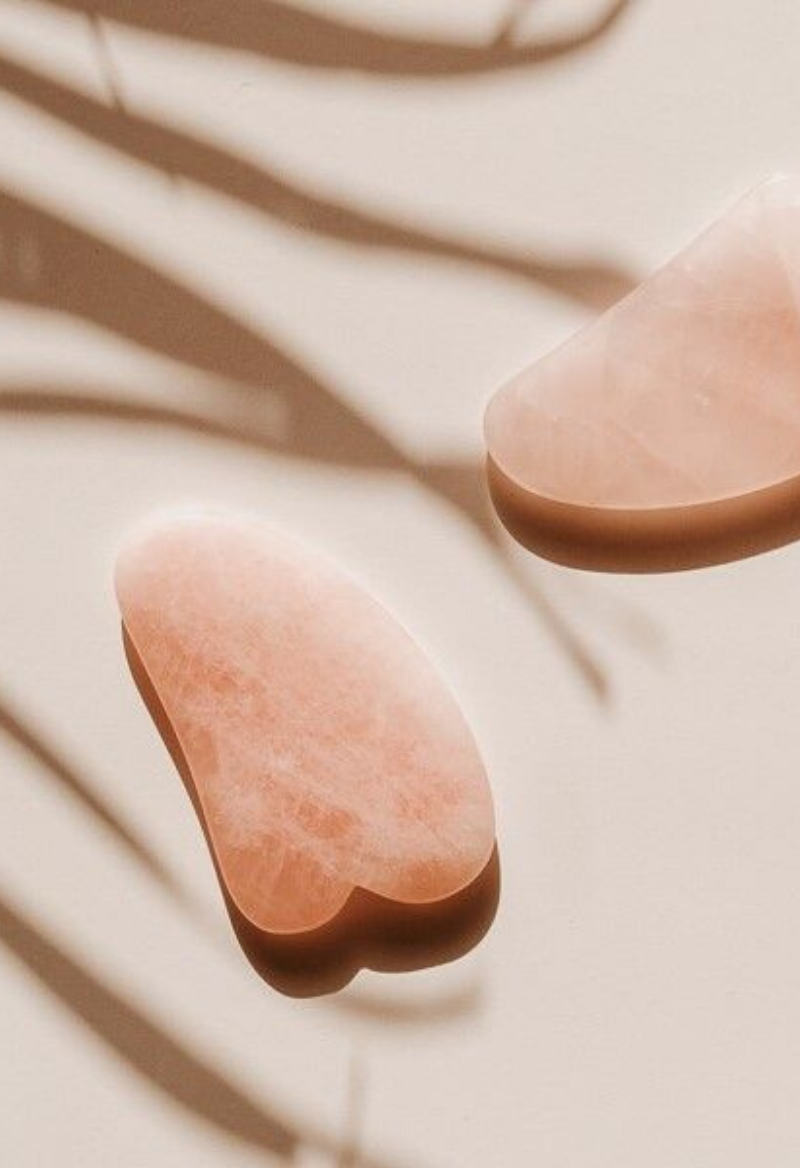
Pronounced “gwah-shah,” this flat little crystal tool is nothing short of magical. It is derived from ancient traditional Chinese medicine, to perform a “scraping” technique that Chinese medical practitioners used to heal skin. “Gua” means scrape, and “sha” is the redness of the skin that happens once you scrape it. Traditionally this practice was quite vigorous and used on the entire body (don’t Google pictures of gua sha); modern facial gua sha practice is gentler and has pretty impressive results, providing an instant and affordable face lift in mere minutes.
What does it do?
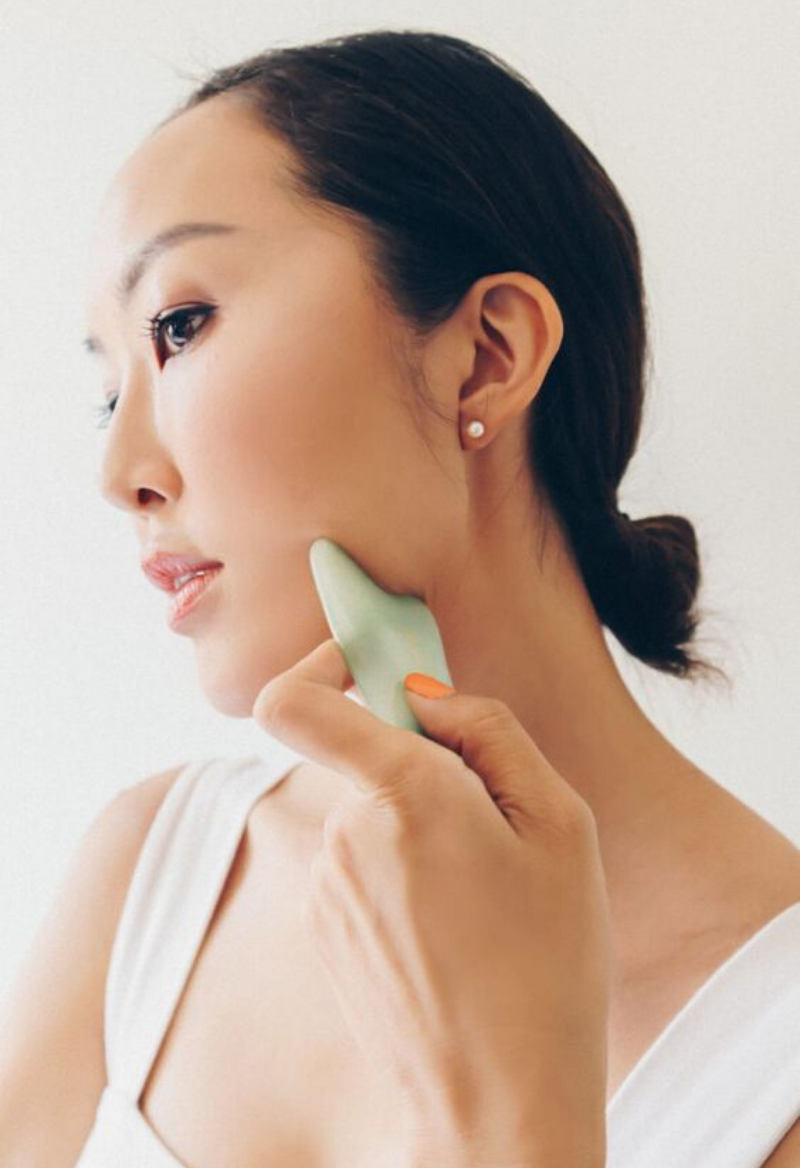
A gua sha facial treatment typically involves gently scraping the crystal tool on your face in upward strokes. This action creates an “energy flow,” promoting lymphatic drainage, boosting circulation, and de-puffing inflamed skin.
Just like our body holds tension and stress from hunching our shoulders over a computer all day, our face too holds tension in the form of furrowed brows and clenched jaws. A gua sha facial is great for relaxing these stiff facial muscles, and will instant release any tension you’re holding.
Gently pulling and tugging at the skin (in the prescribed manner) also helps to tone, lift, and sculpt your face and décolletage — and who doesn’t want more a sculpted jawline or defined cheekbones!
Full disclosure: none of these benefits are going to be that evident if you use the gua sha once. While you will instantly see some results even in one use (take before and after pictures on your phone and you will be amazed!); gua sha is recommended for consistent use. With regular usage, it helps smooth out deep lines and wrinkles, lifts and tones sagging skin, and improves dark circles and puffiness.
What you need + how to choose a gua sha tool
All you need is a gua sha tool, a face mist (a hydrosol like rose water is great), and some facial oil to get started. You can also use a serum or moisturiser in place of the oil. This is recommended to reduce friction so that your tool can glide smoothly on your skin.
When it comes to choosing a tool, it boils down to personal preference. Usually gua shas are available in either jade or rose quartz, and both crystals their unique healing properties. It’s best to do some research and pick a material that feels right to you — choose one based on their energy, or the colour you love! As for shape, a good tool to have is one which has more than one angle — a curved longer edge, and a V or U shaped corner to target areas like eyebrows and under eyes.
How to use a gua sha
Gua sha uses a mix of long and short strokes and gently scrape the skin to move the muscles and tissues underneath. It’s important to follow the correct technique to perform facial gua sha, and a host of tutorials can help you perfect it.
- Prep your skin with applying face mist + facial oil all over your face and neck. Press and tap it in rather than rubbing.
- Use the gua sha with your dominant hand, using the opposite hand to support and hold your skin so you don’t pull it too much.
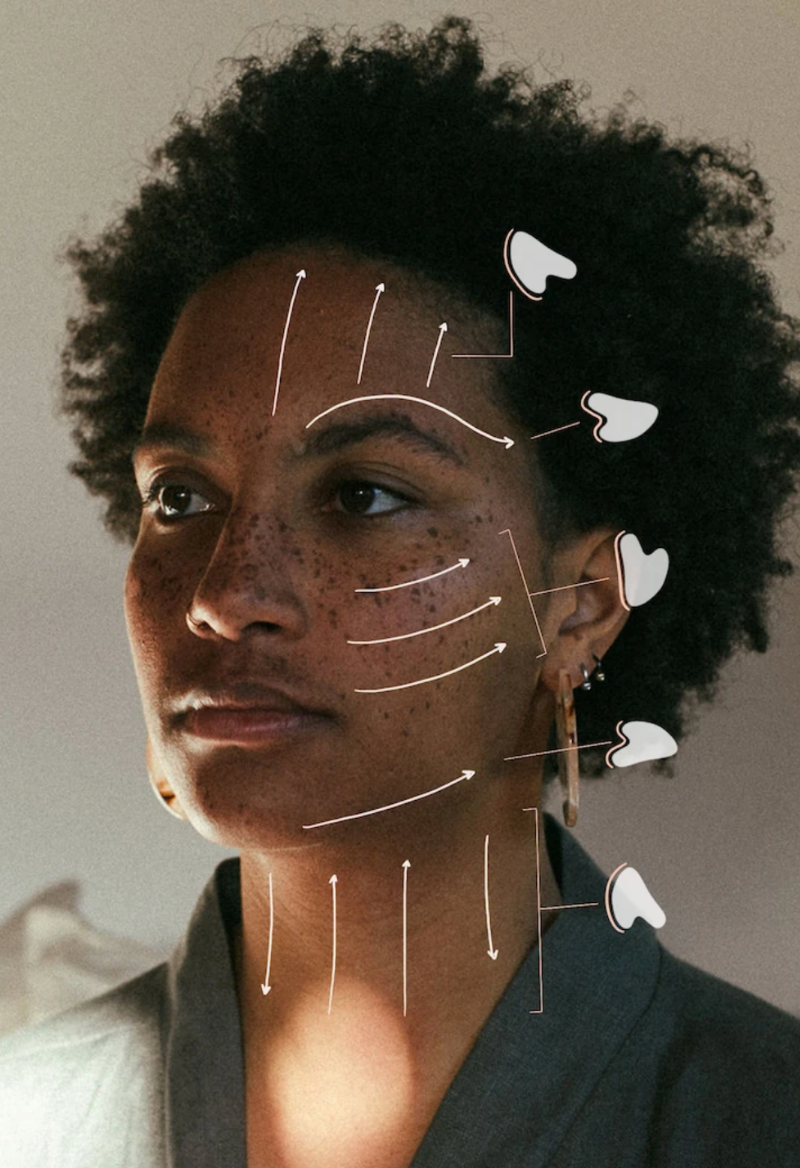
- Start at the neck and jawline, working your way up to the forehead and targeting one side of the face first — usually your dominant side.
- Use upward strokes on the neck; on the jawline scrape out from the chin towards the ear.
- Sweep the stone across your cheeks from your nose to the edge of your face.
- Use the curved edge to gently target the under eye and eyebrow area, and end with a few upward swipes on the forehead towards the hairline.
- Perform each stroke 3 times, but no more than 10. A good idea is to start with 3, and move up to 5 when you become more comfortable.
- Repeat on the other side of the face.
Pro Tips!
- Hold the gua sha tool at a 15° angle, almost flat against your skin
- Use gentle pressure and don’t pull and tug the skin a lot. You can be a bit firmer in the neck, jawline and chin.
- Support your skin with the opposite hand.
When to do it and how often?
Gua sha is great for when you wake up in the morning with a puffy face, but it’s also wonderful at night as a part of your nighttime skincare routine to help you de-stress and relax your facial muscles.
For visible results, use the gua sha daily. Otherwise, 2-4x a week is recommended.
Watch this facial gua sha tutorial to learn the best techniques:
Voila! Sculpt your way to defined cheekbones and glowy skin — what’s not to love?
Image Sources: Cover / 1 / 2 / 3